Return to Step 03 - Aspera Setup Menu
Setting up Aspera on Cloud folders
In order to configure GPL’s integration between Aspera on Cloud and the Ingest Delivery and Create Delivery2 apps for Shotgun your Aspera Admin will need to setup the proper folders in AoC.
This tutroial will walk you through that process.
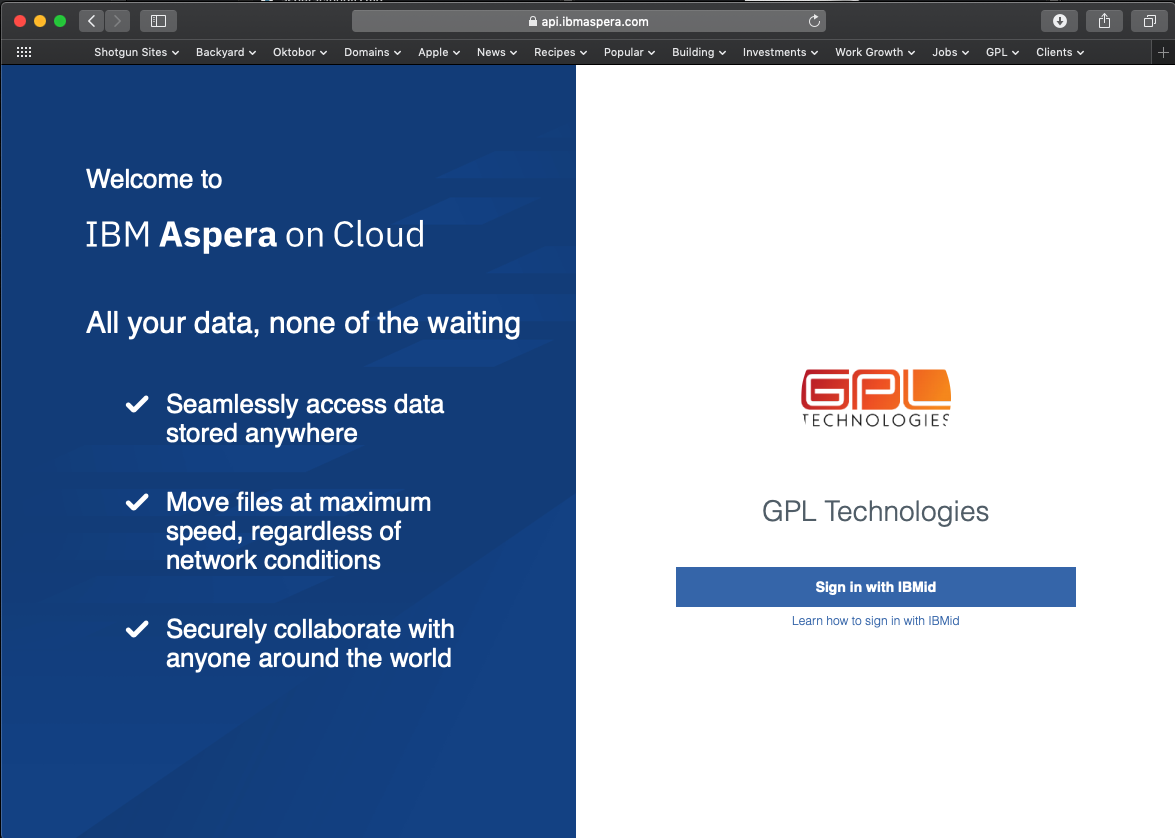
1 Login into your Aspera on Cloud account with your IBMid
2 Setup “SG_Ingestion” folder
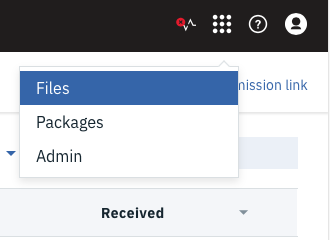
- After logging in, navigate to the “Files” application by selecting the applications menu in the upperright of the webpage:
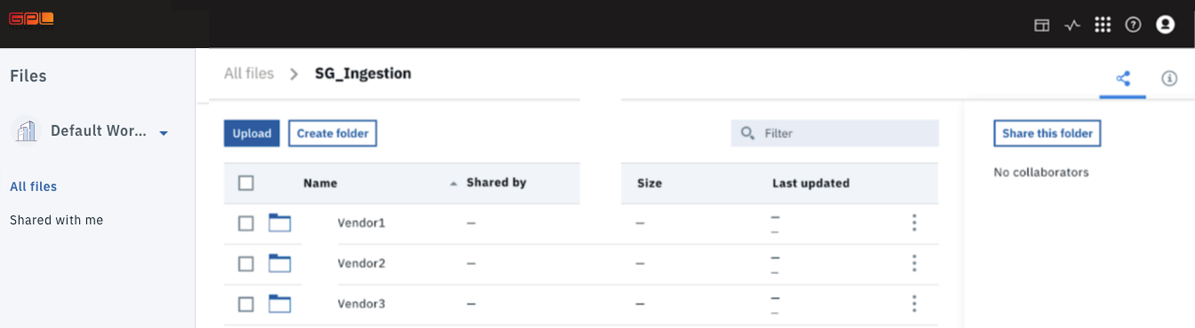
- The files application will initially look like this for the example “Default Workspace”:
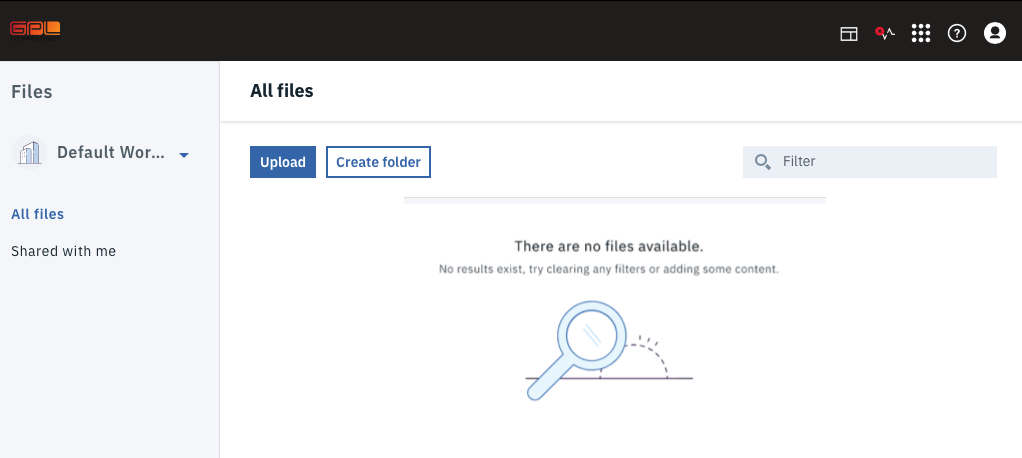
IMPORTANT: If you are a member of multiple workspaces, make sure the appropriate workspace is selected in the lefthand pane (In this example there is only one workspace called ‘Default Workspace’)
WARNING: Aspera has a bug (which has been reported) that can cause the workspace to change when switching from “Packages” to “Files”.
3 Create a Folder
Select the “Create folder” button and name it “SG_Ingestion”
After the SG_Ingestion directory has been created, select the vertical ellipsis and select “Share” to share the folder with other members of your production team:
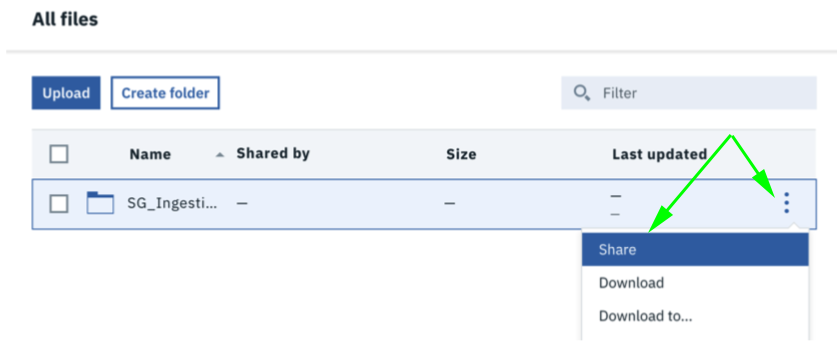
NOTE: Share ‘edit access’ for this SG_Ingestion directory with at least one other member of your team so someone else will have access in case of emergency.
4 Setup Vendor Delivery Folders
- Navigate inside SG_Ingestion directory and create folders for all of your vendors who will be submitting with the Shotgun Studio tools.
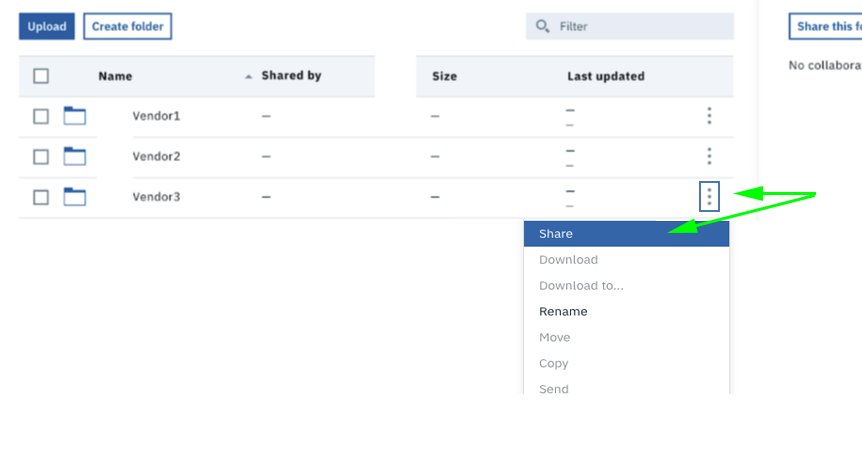
Each folder should be shared with each vendor user who will be submitting deliveries. Each user will also need their own Shotgun account.
To configure sharing, select the vertical ellipsis to the right side of each vendor folder row.
- Enter the vendor user’s email address, give them “Edit” privileges and select “Share”.
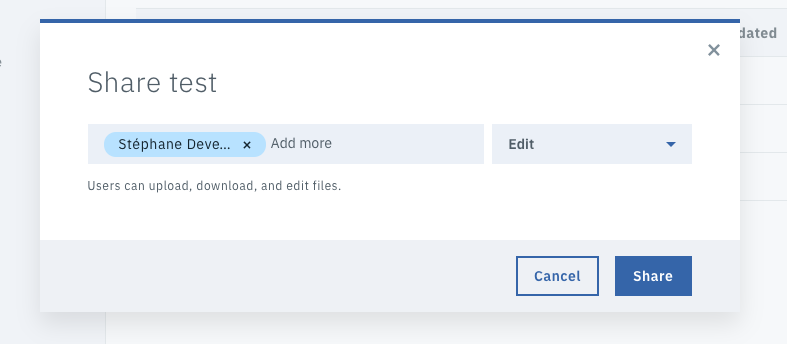
NOTE: Note: “Add more” will not work if you’re attempting to add users who aren’t already members of your workspace. This is OK, simply select “Share” and then open the menu again to share with the next user from that vendor.
- Once the vendor folders have been shared, you can click inside one of them to view who has been given access to the folder:
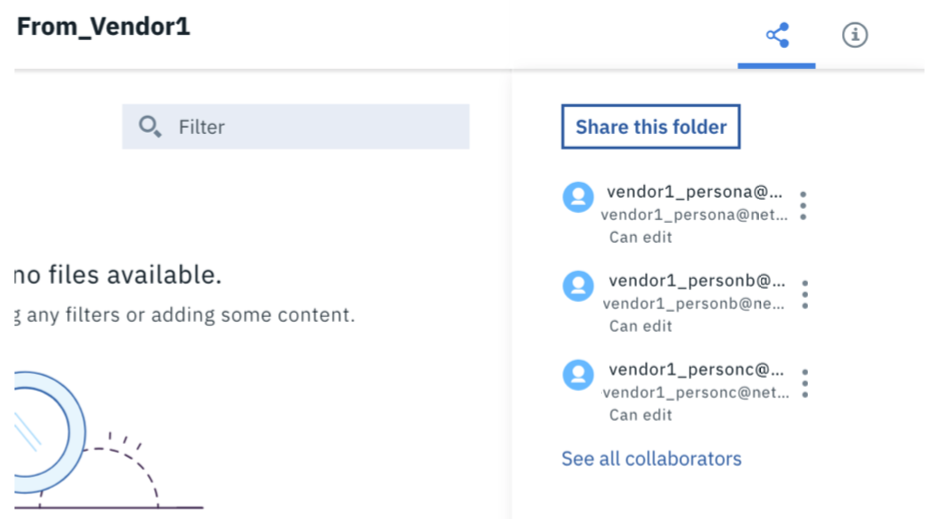
NOTE: Adding users in this way will not fully add them to your workspace (as long as they aren’t already members of the workspace). This process creates “limited users” who won’t get visibility to any other users in the workspace. Limited users can also be added to a “Shared inbox” to allow them to send and receive packages without giving them visibility to other users in your workspace. Using limited users is recommended if you do not want vendors to be able to see who each other are.
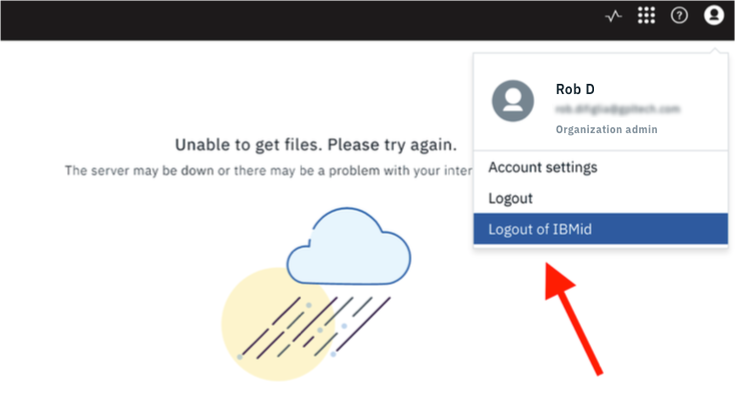
TROUBLESHOOTING
If a user clicks on a link they have received and sees the image below, the computer they are using is either:
- Logged into Aspera on Cloud using a different User account
- Their access to the folder was removed.
If logged in with a different account, user should use the “Logout of IBMid” button to log out of the other user and sign in under their own account.