Step 02 - Shotgun Desktop
After the GPL Team has informed you that they have uploaded your new tool configuration, you will need to follow these instructions on how to install the Shotgun Desktop app.
Note: The Shotgun Deskop App runs on your local machine and will allow you to launch GPL’s applications and tools.
Download Shotgun Desktop
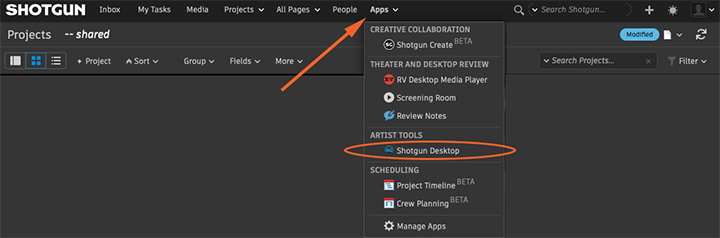
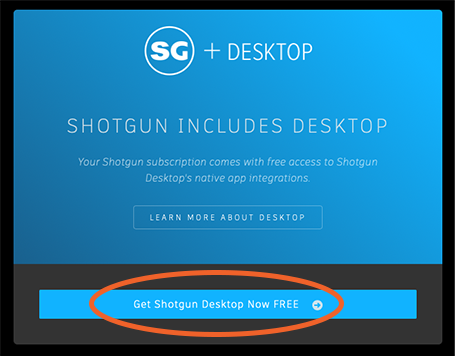
- Login to your Shotgun site and download Shotgun Desktop from under the Apps menu.
Note: If you are already using Shotgun Desktop for your internal pipeline please Email Us to ensure the new configuration does not impact your exisitng tools.
- Follow the prompts and choose whether to download Desktop for Mac, Windows, or Linux.
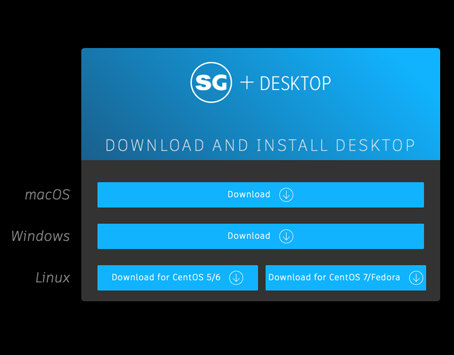
Note: GPL Tools only work for Mac and Windows. If you are running Linux please Email Us.
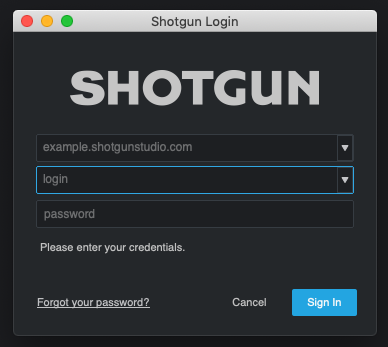
- After installing, launch Shotgun Desktop from your Applications folder and login using your Shotgun credentials.
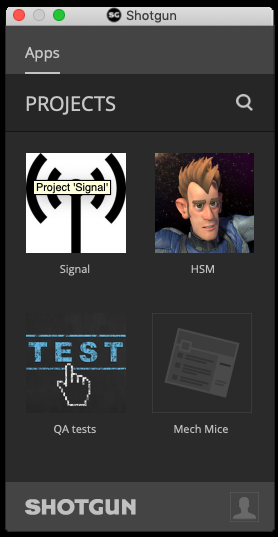
- After logging in, Shotgun Desktop will display a list of projects. Select your project to access your tools.
Note: The first time you login it may take a couple of minutes to install your apps. Please be patient.
- After selecting your project your Apps page will load and you will see a list of “GPL Tools”.
Note: If you do not see any “GPL Tools” please Email Us.

- CONGRATULATIONS! You have successfully installed Shotgun Desktop and are now ready to start testing the tools. Please move on to Step 03 Setting up Aspera.
Note: For more detailed information about Shotgun Desktop visit the Shotgun Support Site